How to DIY Your Wedding Invitations
By Weddings By Wendi – Your San Marcos, Texas wedding planning partner
Wedding invitations set the tone for your special day. Creating your own invitations can add a personal touch and save you money. Follow these steps to DIY your wedding invitations efficiently and creatively.
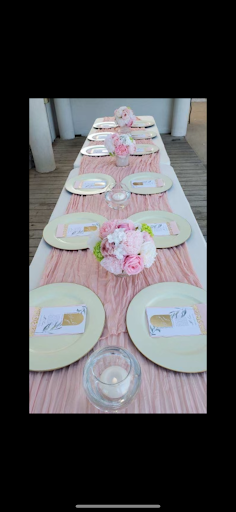
Begin by choosing a style that reflects your wedding theme. Consider whether you want a formal, casual, modern, or vintage feel. Look for inspiration on platforms like Pinterest, or browse through wedding magazines. You should think about colors, fonts, and design elements that resonate with you and your partner.
Next, decide on the wording for your invitations. Typically, this includes crucial details like your names, the date and time of the ceremony, the venue, and RSVP information. Ensure the wording aligns with your chosen style. For a formal invitation, you might use traditional phrases, while a casual invitation can adopt a more relaxed tone.
Once you have a design concept and wording, create a list of necessary materials. You will need quality cardstock or specialty paper, envelopes, a printer, and any decorative elements such as ribbons or embellishments. If you are unsure about which paper to choose, visit a local craft store and feel different textures to find what suits your taste.
Using design software can help when creating your invitation. Programs like Adobe Illustrator, Microsoft Word, or online tools like Canva offer templates and customizable options. Start by selecting an invitation template that matches your style. Input your chosen color, font, and text to create a visually appealing design. Adjust the layout until you are satisfied with how everything looks.
After finalizing your design, print a test copy on regular paper to verify that everything appears correctly. Check for typos, alignment issues, and color accuracy. Once you are happy with the test print, print your invitations on the selected cardstock. Be sure to use a quality printer to ensure that the colors pop and the text is clear. If you do not have a printer, consider using a local print shop to achieve professional quality.
After printing, cut the invitations to the desired size if needed. You might want to use a paper cutter for clean, straight edges. Then, address your envelopes. Handwritten addresses add a personal touch, but you can also use calligraphy or printed labels for a more polished look. Don’t overlook the importance of the envelope as it also reflects your wedding style.
Finally, assemble your invitations. If you are adding any inserts like RSVP cards or maps, ensure they fit well inside the envelope. Seal your envelopes securely. If you want to add a decorative touch, consider using wax seals or decorative stickers. Once complete, mail your invitations at least six to eight weeks before your wedding to give your guests ample time to respond.
By following these steps, you will create unique wedding invitations that reflect your personality and the essence of your special day.